In this article from the series Automation Tools, I am going to guide you on how you can set up a Bitbucket Pipelines job for a Selenium Java project, run your Selenium tests, and display the report with the test results, all that without ever leaving the Bitbucket website.
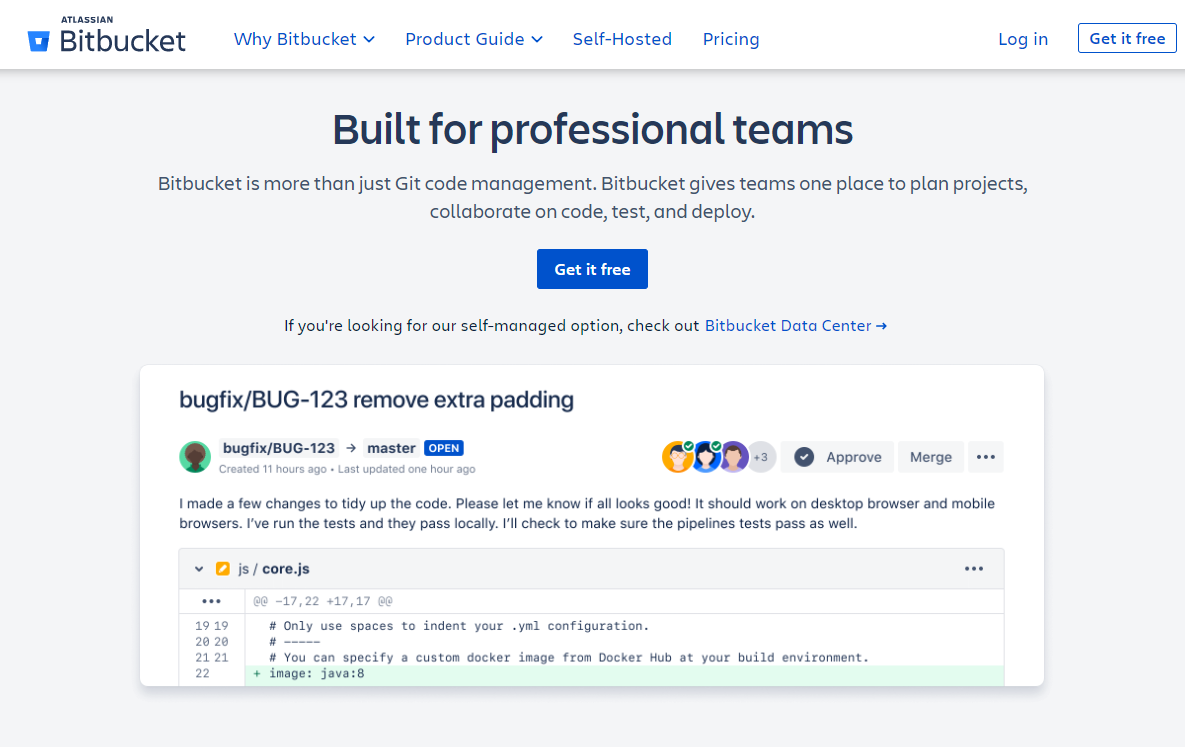
What Is Bitbucket Pipelines?
Bitbucket Pipelines is one of the most recent workflow mechanisms that are quick and easy to set up directly from the Bitbucket repository. It allows you to automatically build, test, and even deploy your code based on a configuration file in your repository. Essentially, it creates containers in the cloud for you. Inside these containers, you can run commands (like you might on a local machine) but with all the advantages of a fresh system, customized and configured for your needs.
Why Do You Need CI/CD?
Definition
CI/CD, short for Continuous Integration and Continuous Delivery/Deployment, is a collection of practices and operating principles that enable teams to deliver code changes more frequently and reliably. The implementation is usually called CI/CD pipeline
Note
Continuous Integration establishes a consistent automated way of building, packaging, and testing applications. This helps teams deliver code changes more frequently, which improves collaboration and software quality.
Note
Continuous Delivery starts where Continuous Integration ends. It automates the delivery of applications to selected environments. For example, teams usually work on multiple environments (development, testing, staging, production), and Continuous Delivery helps with an automated way to push code changes to them.
The logic behind using such principles is, so teams commit smaller code changes more frequently. Continuous Integration usually checks if the code builds and the tests run successfully on each commit to the repository, so it’s easier to identify defects earlier and improve software quality. Continuous Deployment helps those changes get to the production environment seamlessly when all the tests have been carried out.
Setting Up The Tests
In the example, we’re going to build a simple Maven project with Java, which will test the proper validation of the fields of Bootstrap 5’s example Checkout form. We’re checking if the appropriate error message is displayed on each required field, if it is empty when submitting and if the form submits if all the fields have valid info.
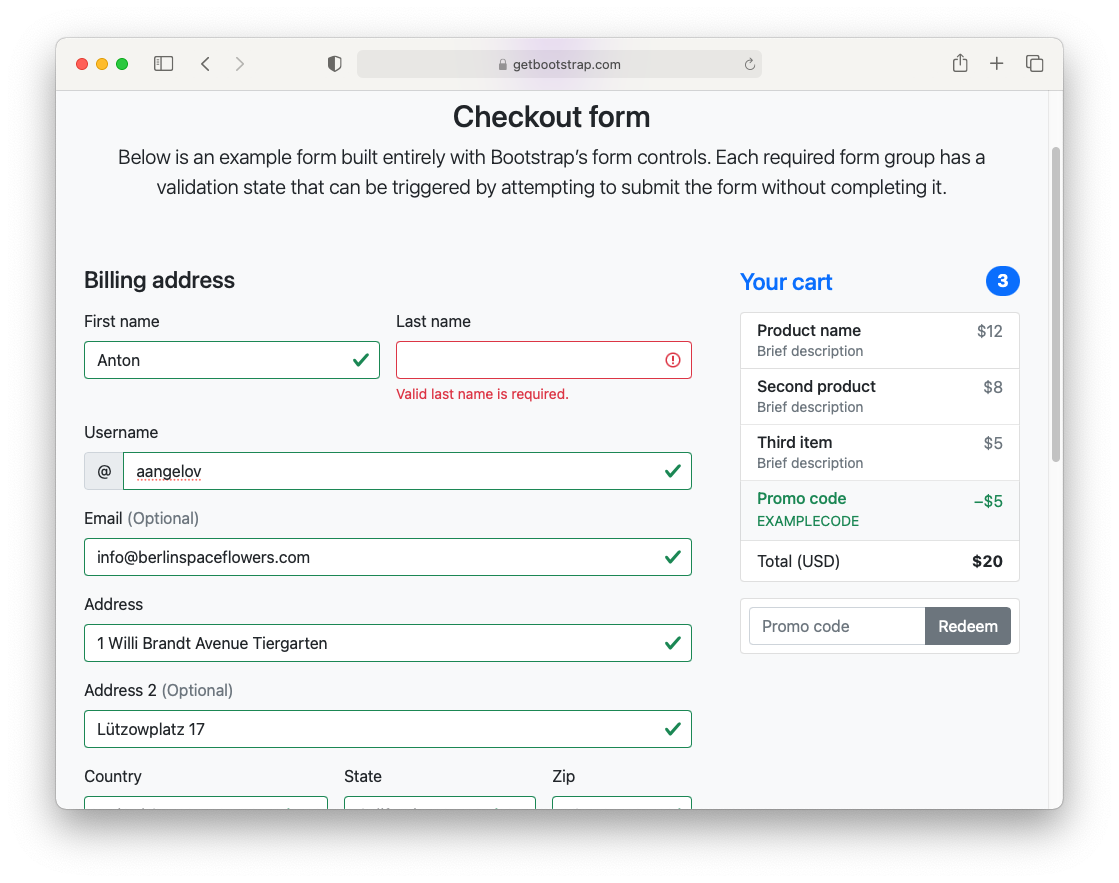
We’re not going to go into much detail about writing the test, as this isn’t the point of this article. You can download the source code from the bottom of the page. Here’s the test class we’re going to execute:
public class CheckoutTests {
  public WebDriver driver;
  public CheckoutPage page;
  @BeforeAll
  public static void classInit() {
    WebDriverManager.chromedriver().setup();
  }

  @BeforeEach
  public void testInit() {
    ChromeOptions options = new ChromeOptions();
    options.addArguments("--headless");
    driver = new ChromeDriver(options);
    page = new CheckoutPage(driver);
    page.navigate();
  }

  @AfterEach
  public void testCleanup() {
    driver.quit();
  }

  @Test
  public void formSent_When_InfoValid() {
    var clientInfo = new ClientInfo();
    clientInfo.setFirstName("Anton");
    clientInfo.setLastName("Angelov");
    clientInfo.setUsername("aangelov");
    clientInfo.setEmail("info@berlinspaceflowers.com");
    clientInfo.setAddress1("1 Willi Brandt Avenue Tiergarten");
    clientInfo.setAddress2("Lützowplatz 17");
    clientInfo.setCountry(1);
    clientInfo.setState(1);
    clientInfo.setZip("10115");
    clientInfo.setCardName("Anton Angelov");
    clientInfo.setCardNumber("1234567890123456");
    clientInfo.setCardExpiration("12/23");
    clientInfo.setCardCVV("123");
    page.fillInfo(clientInfo);
    page.assertions().formSent();
  }

  @Test
  public void validatedCardCVV_When_CardCVVNotSet() {
    var clientInfo = new ClientInfo();
    clientInfo.setFirstName("Anton");
    clientInfo.setLastName("Angelov");
    clientInfo.setUsername("aangelov");
    clientInfo.setEmail("infoberlinspaceflowers.com");
    clientInfo.setAddress1("1 Willi Brandt Avenue Tiergarten");
    clientInfo.setAddress2("Lützowplatz 17");
    clientInfo.setCountry(1);
    clientInfo.setState(1);
    clientInfo.setZip("10115");
    clientInfo.setCardName("Anton Angelov");
    clientInfo.setCardNumber("1234567890123456");
    clientInfo.setCardExpiration("12/23");
    clientInfo.setCardCVV("");
    page.fillInfo(clientInfo);
    page.assertions().validatedCardCVV();
  }
}
NOTE: We’re setting up Chrome to run in the headless mode because the runners don’t display output and will probably crash the driver.
After you have the Maven project set up with all the tests and verified that they’re working, we’re adding the maven-surefire-plugin to the POM.xml to run the tests through the command line. Next, go to the project’s root using CMD/Terminal and write mvn clean test to clean the project’s generated files, compile the project and run the tests (note that test carries the additional tasks needed such as compilation). If everything goes as expected, you should have a folder called “surefire-reports” with a .xml file with the results under the “target” folder. We’re going to need it later when we’re configuring the reporting.
Getting Started with Bitbucket Pipelines
1. Create a new Atlassian account and create a new Bitbucket account.
2. Create a new Bitbucket project
3. Create a new Git repository

4. Fill the required information
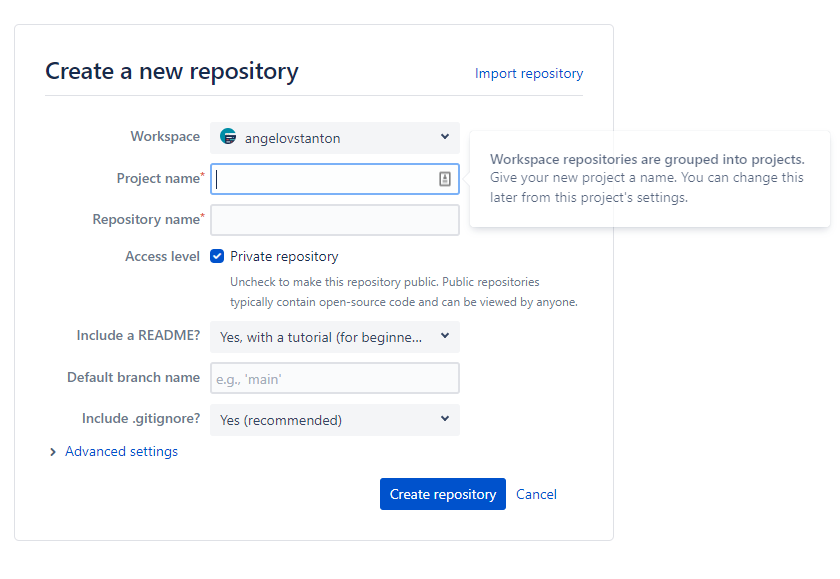
Below you can see the result.
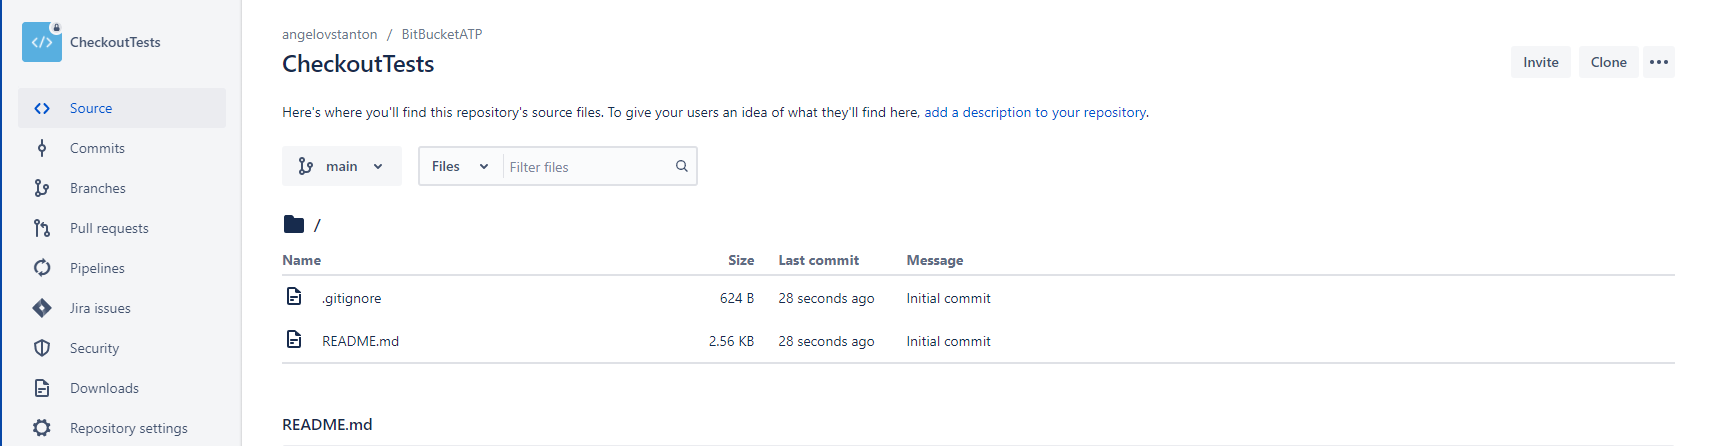
5. Click the Clone button and add the tests’ code
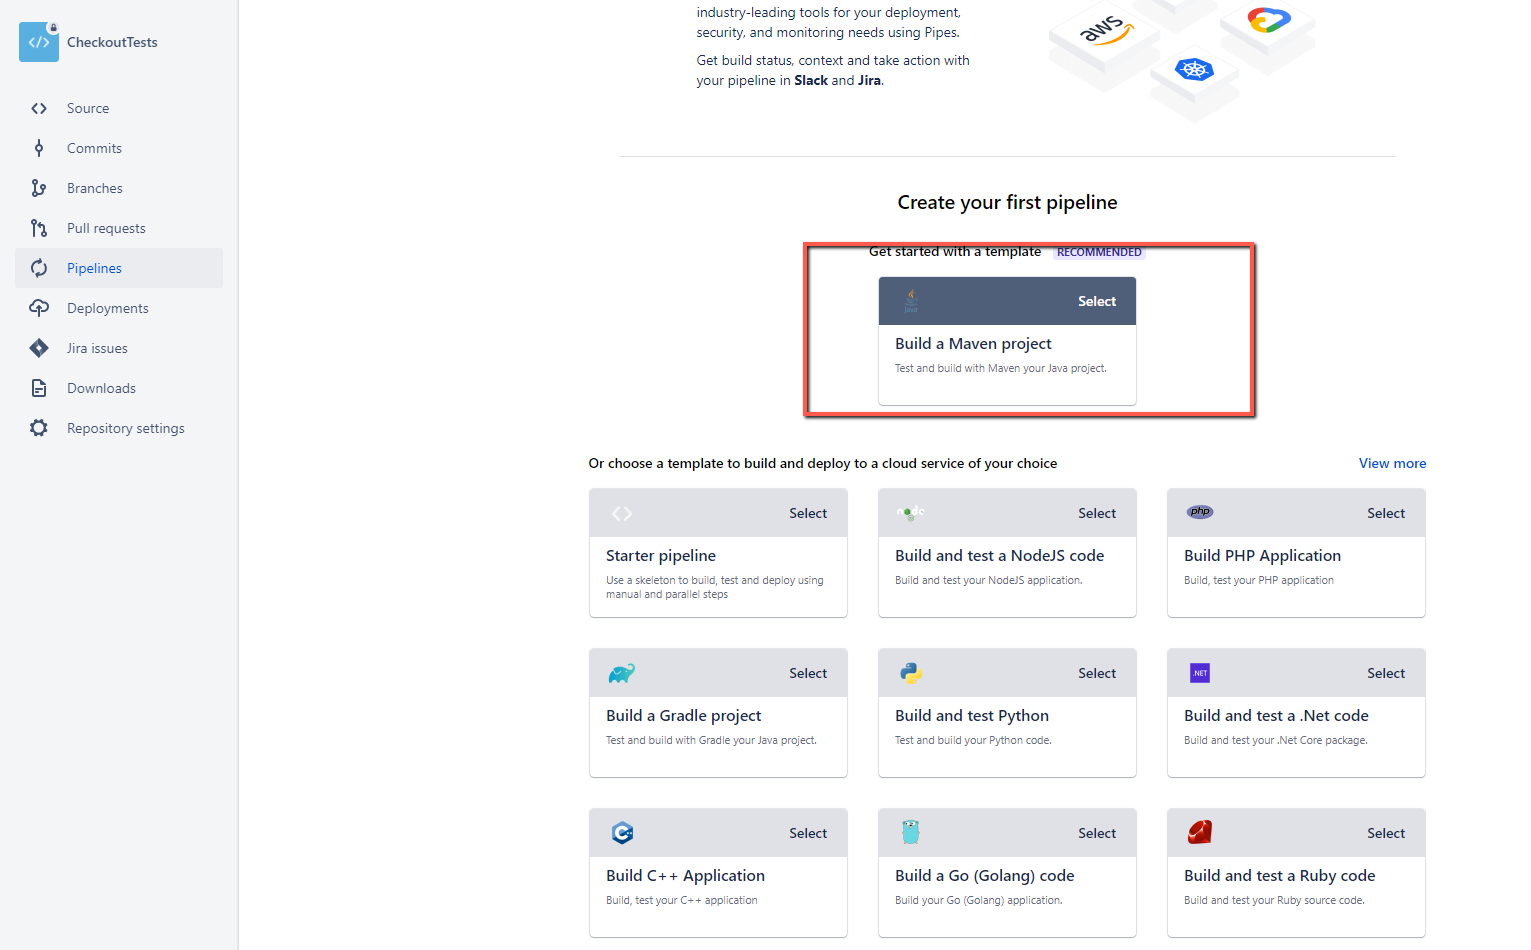
We are ready to proceed with creating a new pipeline that will execute the tests in CI.
6. Click the Pipelines button and select “Build a Maven project” pipeline template
7. To proceed with the setup, you need to enable the Two-step verification of your account. First, follow the steps described in the official documentation.
8. The Maven template contains most of the things you need to download the source code and run the Selenium tests.
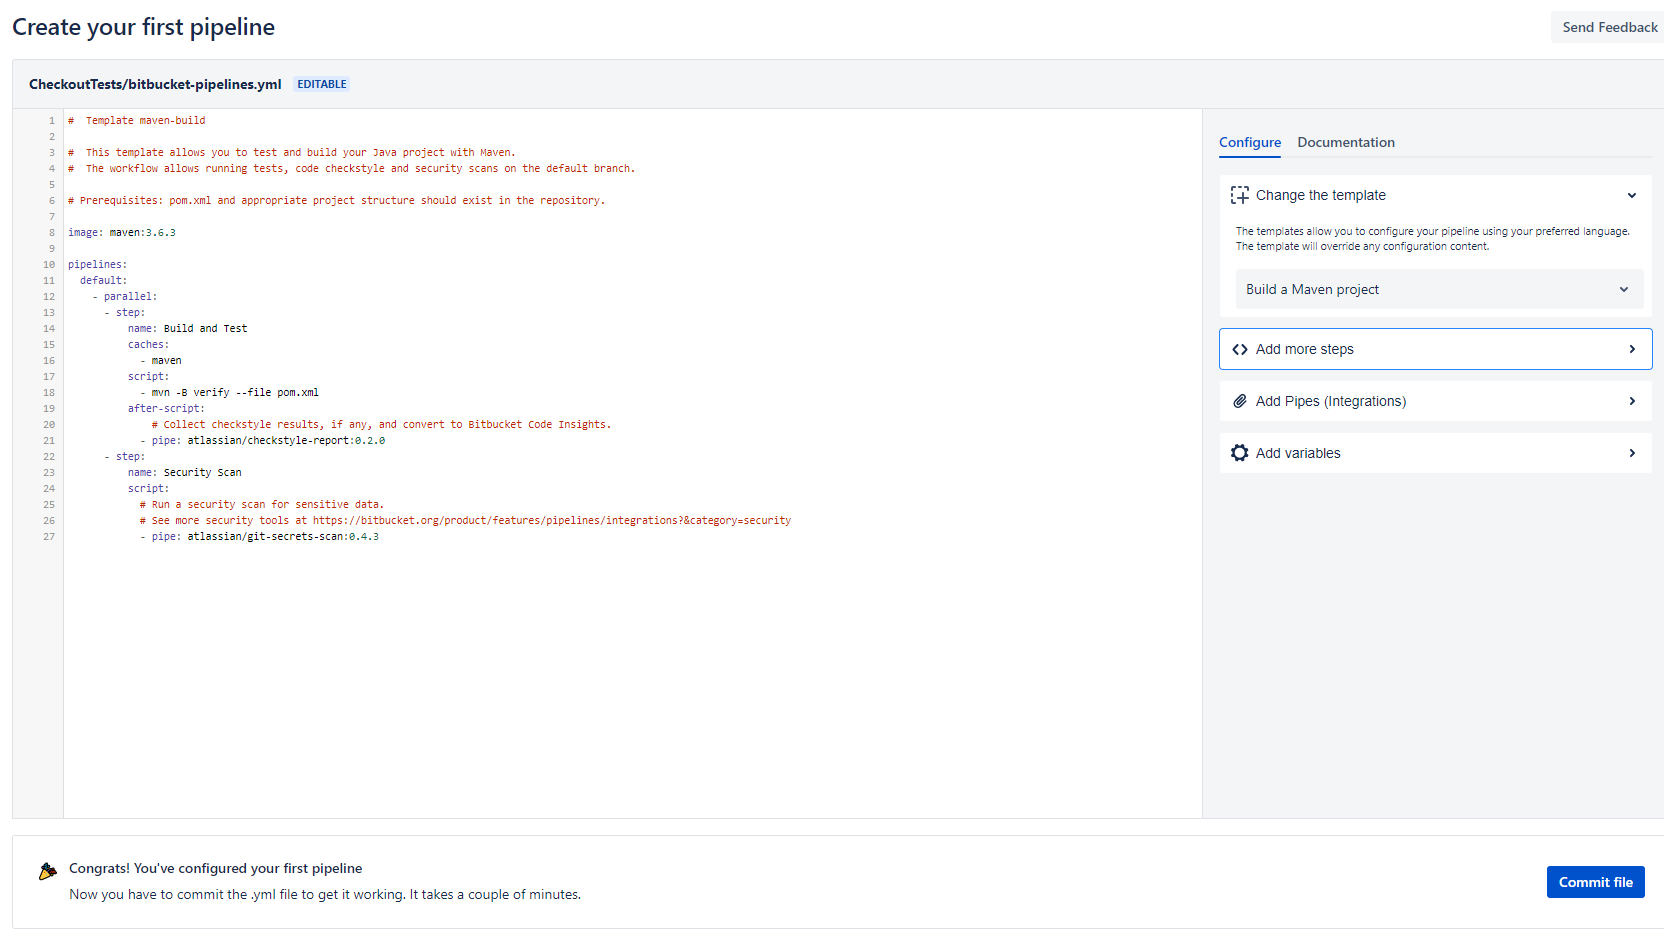
9. Edit the code before committing the file and change it with the following one:
image: "maven:3.6.3"
pipelines: null
default:
  - step: null
caches:
  - maven
script:
- mvn -B -Dtest=TestAll verifyimage: "markhobson/maven-chrome:jdk-8"
pipelines: null
branches: null
"{ui-automation}":
- step: null
name: Run UI Tests
script:
- echo "Running the automated tests...."
- mvn --version
- mvn -q test
artifacts:
- target/html-report/**10. After you make a push to the remote repository a new pipeline build will be triggered.
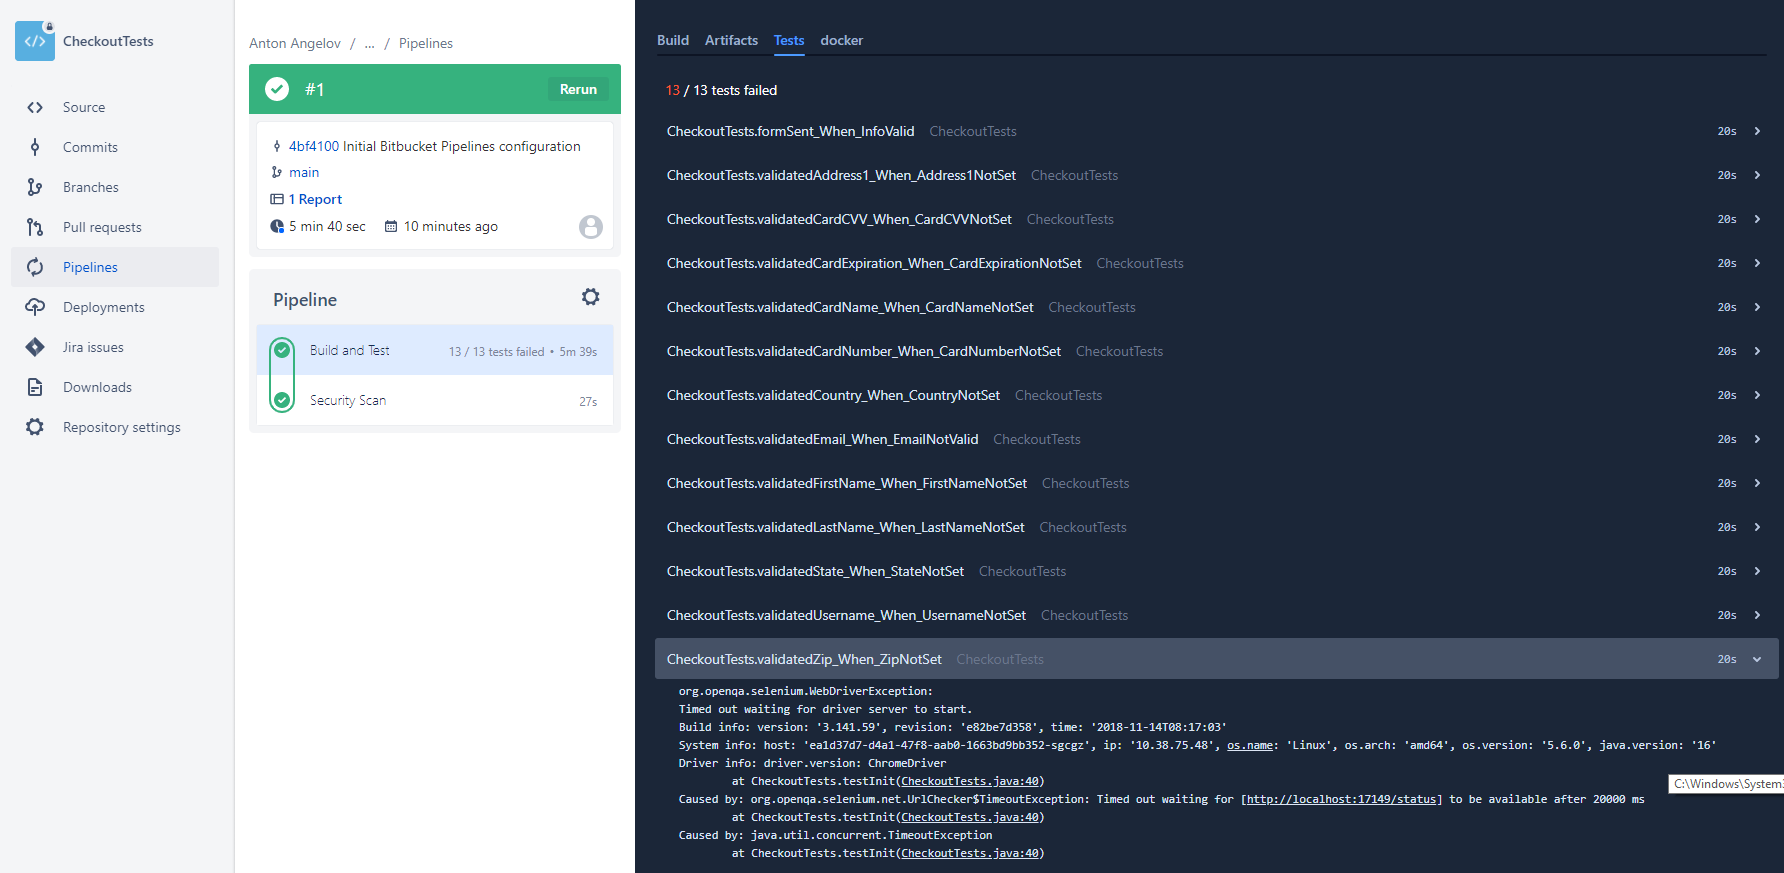
From my experience with Bitbucket Pipelines and other CI tools, I would suggest configuring your automated Selenium tests to run in the cloud, custom Selenium grid, or in Docker containers. Also, to ease the test failure analysis, consider integrating a solution such as Allure or ReportPortal since the information displayed in the builds here is insufficient. Also, you can check another superb AI-powered solution for healing automatically some of your tests - Healenium.
Summary
Bitbucket Pipelines is one of the most recent workflow mechanisms that are quick and easy to set up directly from the Bitbucket website. It allows you to automatically build, test, and even deploy your code based on a configuration file in your repository. Essentially, it creates containers in the cloud for you. Inside these containers, you can run commands.